
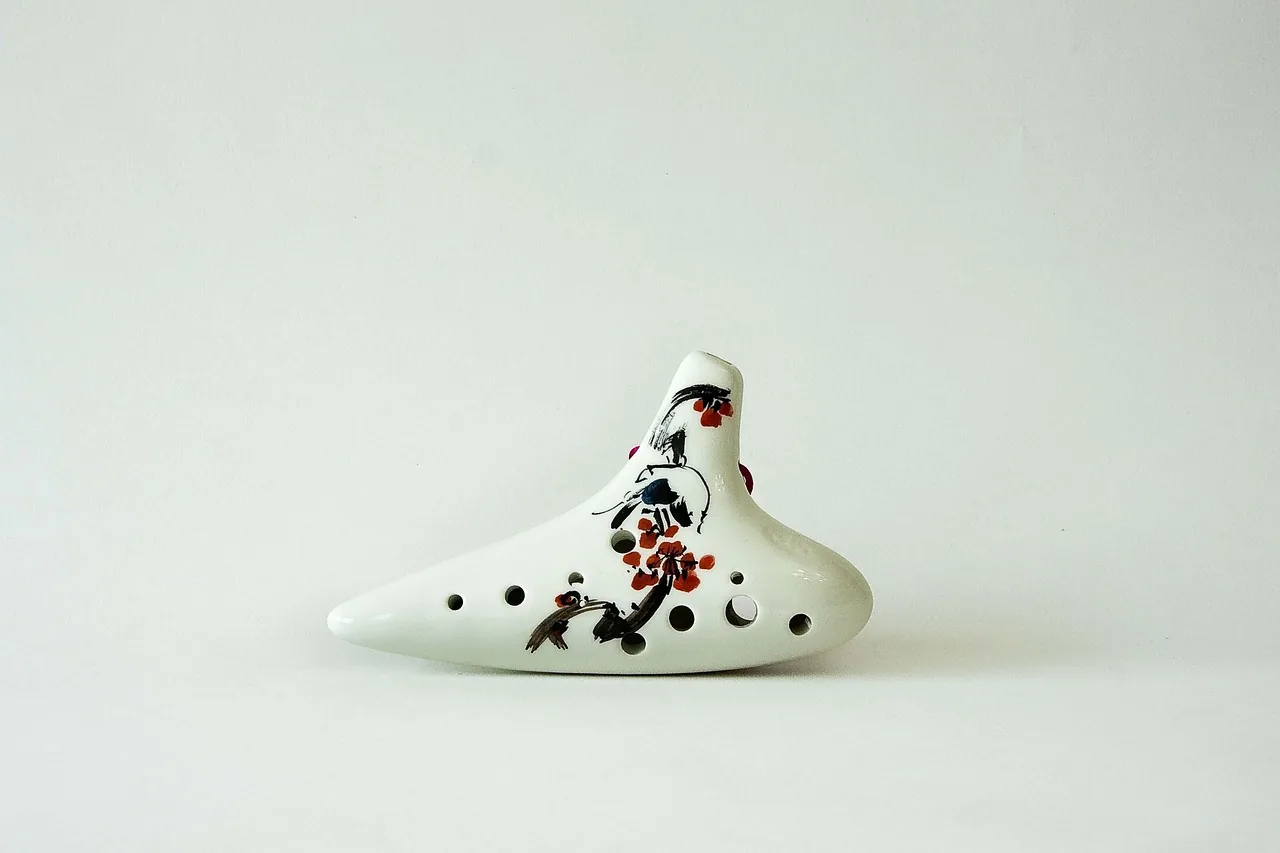

Dive into the world of an ancient wind instrument known for its deep, ethereal sounds. This article is for beginners who want to learn to play quickly and easily.
Playing provides a calming experience and encourages mindfulness. After just a few sessions, many players can produce pleasant notes and understand the basics of breathing and fingering.
This guide explains how to choose your first model, read simple sheet music and progress step by step. You will find practical advice on playing the ocarina and learning without any knowledge of music theory.
Accessible and rewarding, this wind instrument turns quiet moments into creative sessions. Let us guide you toward a relaxed, lasting practice.
Understanding the world of the ocarina
A breath, a shape, a history. This small wind instrument connects ancient rituals with more recent innovations. The Maya and Aztec civilizations were already using it in ceremonies several centuries before the Common Era.
Historical origins
In the 19th century, Giuseppe Donati modernized the instrument in 1853. He standardized its shape and made it suitable for composition and teaching.
“The transformation of 1853 turned this object from a ritual instrument into a creative one.”
Benefits for beginners
It is easy to get started. Its compact design makes learning accessible to children and adults alike.
- Requires little breath, making it ideal for progressing without fatigue.
- Ergonomic design that improves hand-eye coordination.
- Calming sounds, perfect for a creative and relaxing pastime.
| Feature | Benefit | Impact on learning |
|---|---|---|
| Standardized shape (1853) | Accurate notes | Faster progress |
| Compact size | Easy to carry | Regular use |
| Little breath required | Less fatigue | Longer practice sessions |
Ocarina musical instrument: a complete beginner’s guide
This chapter presents the key steps for learning to play this wind instrument with confidence and enjoyment.
Simplicity and gradual progress lie at the heart of this approach. With just a few minutes of practice each day, you can discover breath control, learn several fingerings and play easy melodies.
Why start this way? The ergonomic design helps you learn quickly. Even without any knowledge of music theory, you can produce clear, harmonious notes.
Follow a three-stage plan:
- Breathing and breath control.
- Basic positions and simple transitions.
- Short melodies to help you stay motivated.
This journey turns the instrument into a relaxing companion. It promotes well-being and stimulates creativity every day.
| Stage | Goal | Expected result |
|---|---|---|
| Breathing | Breath control | Stable notes |
| Fingerings | Simple positions | Smooth transitions |
| Melodies | Daily practice | Enjoyment and progress |
For step-by-step support, read this beginner’s guide.
Essential criteria for choosing your first model
Choosing your first model means finding the right balance between comfort, key and simplicity.
Start with the format. Transverse models often have 10 to 12 holes. They are suitable for adults seeking a wide range.
Pendant models generally have 4 to 6 holes. They are easy to handle and appeal to children and beginners.
Quick comparison of features
- Holes: the more there are, the wider the range.
- Material: ceramic produces a rich sound, while plastic is durable and practical.
- Key: an alto C remains an excellent, versatile choice for learning.
| Feature | Transverse (10 to 12 holes) | Pendant (4 to 6 holes) | Recommendation |
|---|---|---|---|
| Range | Wide | Limited | Choose according to your level |
| Material | Ceramic (rich sound) | Plastic (durable) | Prioritize quality |
| Key | Soprano or alto available | Often alto or soprano | Alto C recommended |
| Players | Adults / intermediate players | Children / beginners | Buy according to your goal |
Advice: compare tuning accuracy and avoid poorly tuned models. The choice between a transverse and pendant ocarina depends on your level and learning goals.
The different manufacturing materials
The choice of material often determines the warmth of the tone and the instrument’s durability. Both its sound and maintenance requirements vary with the material.
Ceramic provides a warm, traditional sound. Ceramic models generally cost between €30 and €60. Producing them requires precise craftsmanship to ensure good resonance and a stable shape.
Plastic is lightweight and durable. Plastic models cost between €10 and €40. They withstand impacts better and appeal to beginners who want a worry-free instrument.
Here are a few points to remember:
- Sound quality: ceramic favors tone, while plastic favors practicality.
- Durability: plastic withstands drops better than ceramic.
- Maintenance: plastic is easy to clean, while ceramic requires greater care.
| Material | Typical price | Advantage | Disadvantage |
|---|---|---|---|
| Ceramic | €30–€60 | Warm, rich tone | Fragile if dropped |
| Plastic | €10–€40 | Durable and lightweight | Less warm sound |
| Composite models (coated) | €20–€50 | Balance between sound and durability | Quality varies by manufacturer |
Choice: to progress with confidence, look for a good balance between sound and durability based on how you plan to use the instrument.
Mastering posture and how to hold the instrument
An upright, relaxed position makes breath control easier. Stand with your feet shoulder-width apart in what is known as the tree posture. This helps stabilize your torso and maintain an even airflow.
Finger positioning
Hold your palm naturally and cover the holes with the pads of your fingers. Sealing them properly prevents air leaks and produces a clear note.
- Fingers relaxed and aligned with the holes.
- Moderate lip pressure on the mouthpiece to prevent whistling sounds.
- Practice for 15 minutes each day to train your hands and master your breath.
“Good posture turns 15 minutes of practice into visible progress.”
| Tip | Effect | Recommended time |
|---|---|---|
| Tree posture | Better breath control | 10–15 minutes |
| Cover every hole completely | Pure notes | Regular practice |
| Moderate lip pressure | Whistle-free sounds | Short exercises |
Fundamental techniques for controlled breathing
Good breath control turns a hesitant melody into a clear musical phrase.
Diaphragmatic breathing: breathe in deeply while allowing your abdomen to expand, then exhale slowly. This method stabilizes the airflow and helps you produce clear notes without excessive effort.
If you are a beginner, practice this exercise for 10 minutes a day. Focus on maintaining a constant airflow. This will help you avoid overblowing, which makes notes too sharp.
The candle exercise strengthens this control: blow just hard enough to make the flame flicker without extinguishing it. Repeat for a few minutes to refine your breath control.
- Benefit: more stable, purer notes.
- Duration: 10 minutes a day recommended.
- Goal: avoid excessive pressure and maintain controlled dynamics.
“Mastering the air means bringing every note to life.”
| Technique | Action | Result |
|---|---|---|
| Diaphragmatic breathing | Inhale while expanding your abdomen, then exhale slowly | Constant airflow |
| Candle exercise | Blow gently on a flame | Better control of dynamics |
| Daily practice | 10 minutes of focused exercises | Reduced overblowing |
To explore these tips further and learn to play the ocarina through step-by-step exercises, read our dedicated tutorial.
Learning to read tablature and sheet music
Decoding a sequence of numbers helps you quickly identify the fingerings for a melody. This section explains how to move from tablature to traditional sheet music.
Reading tablature
Tablature is a very simple visual method for beginners.
Numbers indicate which holes to cover. For example, the sequence 4-2-1-2-4 represents Zelda’s Lullaby.
OcarinaTabs.org offers more than 1,000 useful references for players of all levels.
Traditional music notation
Reading sheet music helps you understand rhythm, dynamics and melodic lines. It complements the use of tablature.
- Benefit: sheet music shows beats and rests.
- Learn scales first, as they help you understand note pitch.
- Practice simple pieces to connect fingerings with notes on the staff.
| Tool | Purpose | Level |
|---|---|---|
| Tablature | Quickly identify fingerings | Beginner |
| Sheet music | Rhythm and dynamics | Intermediate |
| Online resources | Extensive repertoire | All levels |
To view detailed sheet music and tablature, follow this reading tutorial.
Practical exercises for improving your scales
Practicing scales regularly transforms how you hear and place each note. Start with the C major scale: it is an excellent example for understanding note sequences and identifying which holes to cover.
Recommended routine:
- Set a metronome to 60 BPM to stabilize the tempo and maintain a constant airflow.
- Practice legato and then staccato using the Berbiguier method to improve finger agility.
- Practice for 15 minutes a day: play the scale upward and downward, then repeat the octave exercise across 2 octaves.
Sheet music and tablature help you see which holes to open for each note. Use them to connect reading with finger position.
“A metronome set to 60 BPM and 15 minutes of daily practice produce fast, lasting progress.”
| Exercise | Goal | Duration |
|---|---|---|
| C major scale | Learn the key and notes | 5–7 minutes |
| Berbiguier method | Alternate smoothly between legato and staccato | 3–5 minutes |
| Octave exercise across 2 octaves | Adjust finger height | 3 minutes |
Tips for maintaining and protecting your instrument
Proper maintenance helps prevent cracks, condensation and changes in pitch.
Cleaning methods
Storage: always store your ocarina in a hard case. Pelican or Noblex cases provide effective protection against impacts.
Weekly cleaning: use compressed air to dislodge particles from the cavities. This prevents buildup and preserves sound quality.
For plastic models, wipe away condensation after every playing session. A clean cloth is enough to prevent moisture from lingering.
Ceramic models should be left to air-dry. Avoid direct sunlight to prevent cracks.
- Good practice: using a case protects the instrument from scratches and impacts.
- Result: smooth airflow and accurate pitch on every note.
- Tip: also read the information about manufacturers and models on the page devoted to portable instruments to help you choose a suitable case.
| Action | Frequency | Tools | Effect |
|---|---|---|---|
| Blow with compressed air | Weekly | Can of compressed air | Removes dust |
| Wipe away condensation (plastic) | After every playing session | Soft cloth | Prevents corrosion and odors |
| Drying (ceramic) | After cleaning | Air-dry in the shade | Prevents cracks |
| Store in a case | At all times | Pelican or Noblex case | Protection against impacts |
Tips for overcoming common difficulties
When a sound slips, a few simple adjustments are often enough to restore a clear note.
Intonation: around 68% of beginners correct their errors within 3 weeks by using a digital tuner. Use one for ten minutes a day to track your progress.
Overblowing occurs when you blow too hard. Breathe from your diaphragm and maintain a steady airflow.
Fingerings and transitions: lift your fingers about 1 cm above the holes when changing notes. Picture the holes as piano keys to help you memorize their positions.
- Diaphragmatic vibrato (Claudio Colombo): an advanced technique for greater expressiveness.
- Practice in front of a mirror: check your posture and make sure your airflow remains even.
- Hairline cracks in ceramic models: a repair kit can help preserve the instrument’s quality.
“Perseverance pays off: every improvement strengthens your control and enjoyment of playing.”
| Problem | Solution | Recommended time |
|---|---|---|
| Poor intonation | Digital tuner | 10 min/day |
| Overblowing | Diaphragmatic breathing | 5–10 min |
| Noisy transitions | Lift fingers 1 cm above the holes | Short exercises |
| Confusing fingerings | Visualize the holes as keys | 5 min before practicing |
To deepen your learning with a structured method, explore this recommended method. To protect your equipment, you can also find accessory advice on the page devoted to cases and care.
Conclusion
Patience and the choice of a suitable instrument have a major influence on your learning. By choosing a model that suits you, you can progress more quickly and with greater enjoyment.
By following this guide, you have discovered clear techniques for controlling your breath, reading sheet music and playing your first pieces. These tools are ideal for beginners seeking a gradual approach.
Regular practice and the use of suitable sheet music remain the keys to progress. Every session helps you enjoy the notes and enrich your experience.
Learning to play the ocarina is a rewarding adventure. With this advice, you have all the foundations you need to continue confidently and enjoy every stage.