
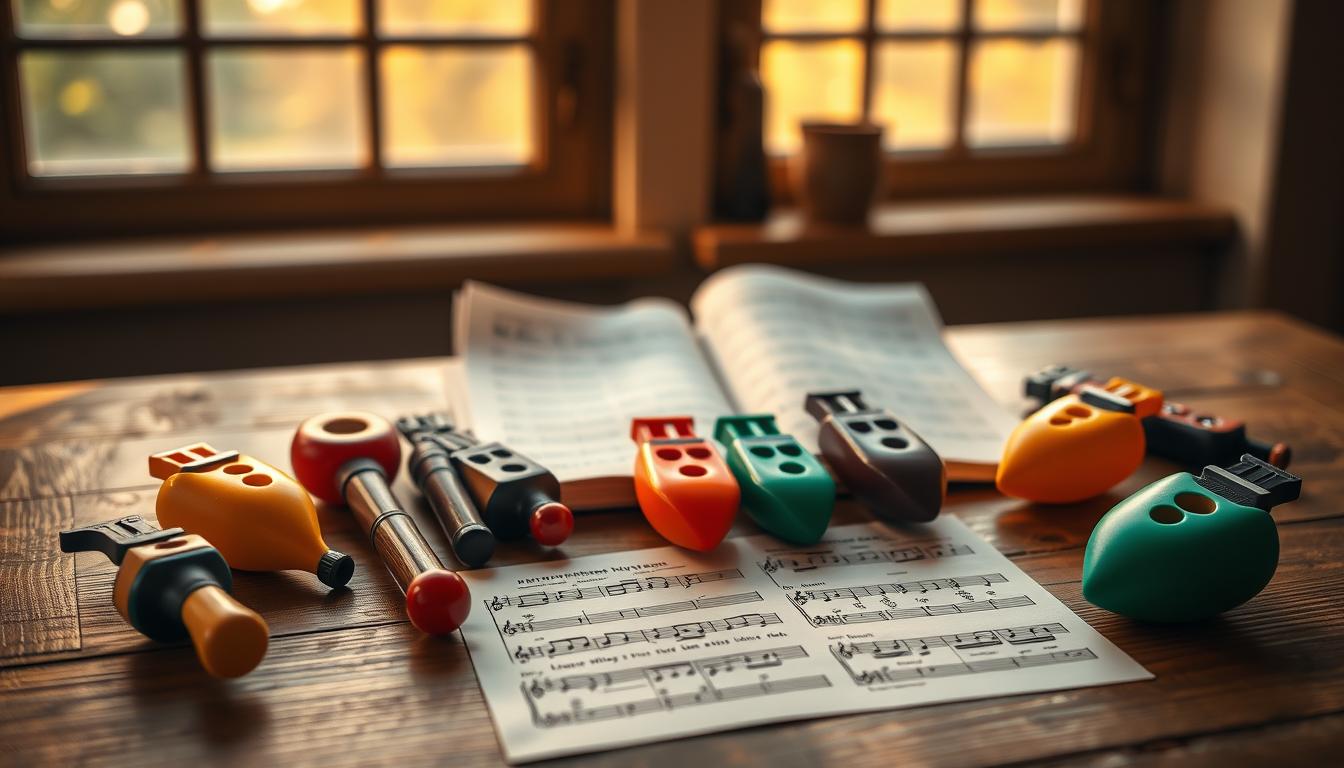

This guide introduces you to an ancient instrument that Giuseppe Donati modernized in 1853 and that remains accessible to enthusiastic beginners. A simple method, followed consistently, will help you progress quickly.
With daily practice, 68% of beginners notice results within three weeks. Here, we provide clear foundations to make learning enjoyable and reliable.
This short guide combines history, practical advice, and easy exercises. The goal is to make your instrument a natural extension of your musical expression.
Start today with simple techniques and a progressive method. Consistency remains the key to mastering the subtleties of this unique wind instrument.
An Introduction to the World of the Ocarina
Before becoming a recreational instrument, the ocarina accompanied rituals and ceremonies in Maya and Aztec societies. Its sacred use explains the important place it still holds in certain regional traditions.
The music it produces crosses borders. Its simple, profound sound brings very different audiences together. Listeners are drawn to its warmth and expressiveness, even in minimalist melodies.
Learning is accessible: you do not need years of musical training to begin. Progressing on this wind instrument soon enables you to play harmonious tunes.
Discovering this instrument also means exploring thousands of years of history and a remarkable range of sounds. To learn more about modern playing techniques and find straightforward advice, read our practical guide.
- Mesoamerican origins and a ritual role.
- A unifying sound that crosses borders.
- Fast progress for beginners.
Ocarina Notes: The First Essentials You Need to Know
Controlled breathing and precise movements make all the difference.
The Role of Breath
Breath regulates volume and pitch. Constant air pressure produces clear, stable notes.
In practice, work on short phrases while maintaining a steady airflow. This prevents fluctuations in pitch and makes learning easier.
Hand-Eye Coordination
Coordination between your eyes and fingers is essential. Studies report a 37% improvement in this coordination among regular players.
Learn the fingerings by covering every hole completely. Tablature and diagrams make the music intuitive to read, even if you cannot read standard notation.
- Steady breath = stable pitch.
- Fingers covering the holes = no air leaks.
- Diagrams and tablature = quick visual references.
| Element | Goal | Recommended exercise |
|---|---|---|
| Breath | Stable pitch | Sustain one note continuously (30 sec.) |
| Fingers | Prevent air leaks | Slowly cover and uncover the holes |
| Visual references | Read tablature quickly | Follow a diagram and sight-read |
“Regular practice synchronizes breathing and movement, producing excellent fluency.”
Choosing Your First Instrument
A carefully considered first choice prevents frustration and speeds up your progress.
The model you buy directly affects your comfort and learning experience.
Beginners often consider two options: the heavier 12-hole transverse ocarina (350 g) and the lighter 4-hole pendant ocarina (200 g). The first accommodates a wider variety of keys and music. The second is convenient for travel and simple exercises.
Choose recognized makers such as STL or Hindocarina. These manufacturers provide good sound quality and stable tuning. Investing in a good instrument makes more complex melodies easier to approach.
Many online resources offer beginner-friendly music and lessons. Look for guides and videos designed for new players to ensure steady progress.
- Weight and ergonomics: affect how you hold the instrument and how quickly you tire.
- Key: choose one that suits your musical goals.
- Brand: sound quality and reliability support your progress.
Mastering Your Posture and Grip
Good posture changes everything. Keeping your back straight and your shoulders relaxed optimizes diaphragmatic breathing. It improves breath control and reduces fatigue during practice.
The Importance of Relaxation
Relaxed hands allow you to place each finger precisely over the holes. Use the pad of your finger to seal a hole without pressing too hard. An overly tight grip creates air leaks and inaccurate notes.
Keep light pressure on the mouthpiece. Excessive pressure causes whistling and alters the instrument’s tone. Adjust your grip to the model, as some require firmer support.
Practice in front of a mirror to check finger position and ensure that the holes are fully covered. This simple tool reveals tiny leaks and helps you correct them faster.
- Straight posture = better breath control.
- Relaxed fingers = an airtight seal and greater accuracy.
- Light pressure = a pure sound without whistling.
“Relaxation is the golden rule: it frees your breathing and refines your technique.”
Producing Your First Clear Notes
Learning to control air pressure quickly transforms the quality of your sound.
To produce clear notes, beginners must master both air pressure and breath duration. Practice simple exercises every day. For example, blow gently toward a candle without extinguishing it to stabilize the air column.
Check the position of your fingers over every hole. A poor seal affects pitch and makes transitions between notes more difficult.
Sixty-eight percent of musicians experience these difficulties during their first few weeks. Do not worry: regular practice will greatly improve your accuracy.
Every instrument model requires adjustments. Test the pressure and adapt the duration of each note to the model’s tone.
| Aspect | Goal | Exercise |
|---|---|---|
| Breath | Stable pitch | Blow toward a candle flame (30 sec.) |
| Fingers / position | Accurate pitch | Check that the holes are covered while looking in a mirror |
| Duration | Rhythmic accuracy | Count 1–2–3 to maintain the note’s duration |
“Consistent airflow and careful checks of the hole seals accelerate progress.”
Use these model-appropriate 12-hole tablatures to practice transitions and build confidence.
Understanding the Tablature System
Reading tablature usually means matching a clear symbol to each hole on the instrument.
Reading the Symbols
Tablature uses visual diagrams. Each number or dot indicates which hole to cover.
The symbols simplify fingering and avoid the difficulties associated with reading musical clefs. Visual memory therefore guides finger placement.
Managing Rhythm
To control note duration, use a metronome set to 60 BPM. This setting provides a steady pulse for playing each note.
Practice rests as carefully as sounds. Beats and pauses bring music and melodies to life.
- Begin slowly, then increase the speed.
- Follow a simple diagram for each exercise.
- Use simplified sheet music as an example.
| Element | Purpose | Practical example |
|---|---|---|
| Symbols | Identify the hole to cover | Match a number to a finger position |
| Metronome | Control duration | Play steady quarter notes at 60 BPM |
| Rests | Structure the rhythm | Observe pauses between phrases |
“Clear tablature makes learning enjoyable and simplifies practice.”
For step-by-step guidance and easy tablature, follow the suggested link and adapt the exercises to your own pace.
Learning the Essential Fingerings
Mastering finger positions gives you access to a complete octave and a wide variety of melodies.
Begin by memorizing simple diagrams. Place each finger precisely over the holes. Work slowly, then speed up.
Each instrument model has its own fingerings. Take the time to learn them so that your playing becomes more fluid.
Progressive exercises:
- Cover one hole, then uncover another while maintaining steady airflow.
- Play a scale slowly, then increase the tempo.
- Match each number in a tablature diagram to a color to help you remember the position.
Make the movements automatic through short, regular repetitions. Check the accuracy of your fingering in a mirror.
“Structured repetition transforms a conscious action into a fluid movement.”
Practicing Scales to Improve Fluency
Focused scale practice develops muscle memory and a stable sound.
The C Major Scale
Fifteen minutes a day for three months is enough to improve pitch and accuracy.
Begin slowly with a metronome. Set it to 60 BPM and observe the duration of each note.
Alternate between scales and short pieces. This strengthens finger coordination and makes transitions across a full octave easier.
| Goal | Exercise | Frequency |
|---|---|---|
| Pitch accuracy | C major scale with a metronome (60 BPM) | 15 min. a day for 3 months |
| Rhythm | Alternate 2 slow measures with 1 fast measure | Include in daily practice sessions |
| Fingering | Ascend and descend through one octave while checking that the holes remain sealed | Repeat in sets of 8 |
“Each exercise clearly shows how repetition makes playing more fluid.”
For practical guidance on reading sheet music and tablature, see our step-by-step tutorial. It is a useful complement to the exercises above.
Advanced Techniques for Faster Progress
Progress quickly by combining breath control, precise fingering practice, and active listening.
Controlling Vibrato
Vibrato adds warmth and expression. Begin with slight variations in airflow while holding a single note.
Practice for 2 minutes per session while maintaining stable air pressure. Increase the speed gradually.
Practicing Transitions
Fast passages require precise finger coordination and controlled breathing. Practice slow ascending and descending patterns, then accelerate.
- Use a metronome to increase the speed gradually.
- Concentrate on maintaining an airtight seal as you change notes.
- Record a piece to identify areas for improvement.
Breathing Exercises
Breathing and airflow control are the foundation of good playing. Alternate between holding a note for 30 seconds and resting for 20 seconds.
Include exercises suited to your advanced sheet music and tablature. This maintains pitch and rhythm across an extended range.
“A structured program, even a short one, accelerates progress.”
Correcting Common Pitch Problems
Identifying the cause of a wrong note makes it much easier to correct.
First, check that the holes are fully sealed. Poor coverage creates air leaks and affects pitch. Check your finger position in a mirror and test each hole separately to assess its response.
Next, stabilize your air pressure and breathing. Pressure that is too strong or too weak changes a note’s pitch. Practice long, steady notes to regulate your airflow.
To improve transitions, play each fingering slowly before increasing the speed. This prevents abrupt openings that produce inaccurate notes.
Some differences arise from the model being played. Adapt your grip to the shape and size of the holes to maintain accuracy.
- Testing one hole at a time helps locate the problem.
- An electronic tuner quickly identifies pitch problems.
- Reviewing the tablature and fingering strengthens muscle memory.
“A methodical check of finger position, air pressure, and the instrument model corrects 80% of pitch discrepancies.”
For practical fingering guidance, see our page on 6-hole ocarina fingering.
Maintaining Your Instrument for Maximum Longevity
Simple, regular maintenance extends the life of your instrument and preserves its tone. These steps take little time and provide real sonic benefits.
After every session, wipe the mouthpiece and holes with a soft cloth. This prevents moisture buildup, which can affect pitch and obstruct the airflow.
The material determines the appropriate cleaning method. For ceramic instruments, use a dry cloth and allow them to air-dry. For plastic models, a light wash in lukewarm water may be sufficient, depending on the model.
Keep your sheet music and resources in a dry place. Careful storage protects the music and prevents moisture from damaging its pages.
A well-maintained instrument retains its tone. Inspect every hole regularly and handle the mouthpiece gently to extend the instrument’s life.
| Material | Frequency | Recommendation |
|---|---|---|
| Ceramic | After every use | Wipe clean, air-dry, and protect from impacts |
| Plastic | Weekly | Wash in lukewarm water and dry completely |
| Wood / other models | After use and during periodic checks | Oil lightly if necessary and store in a dry place |
“One small daily step protects pitch accuracy and makes long-term practice easier.”
For useful accessories and additional advice, see our guide to essential clarinet accessories, which may give you ideas for caring for your instrument.
Conclusion
Progress comes from short practice sessions and a consistent method.
This guide has given you practical tools for effective learning. Adopt a simple method, combine exercises with regular practice, and progress at your own pace.
Explore tablature and sheet music suited to your playing style. Join communities and consult resources where you can share your melodies. Perseverance remains the key to your musical progress.
Start today: open a new tablature, practice for a few minutes, and enjoy every step forward.